
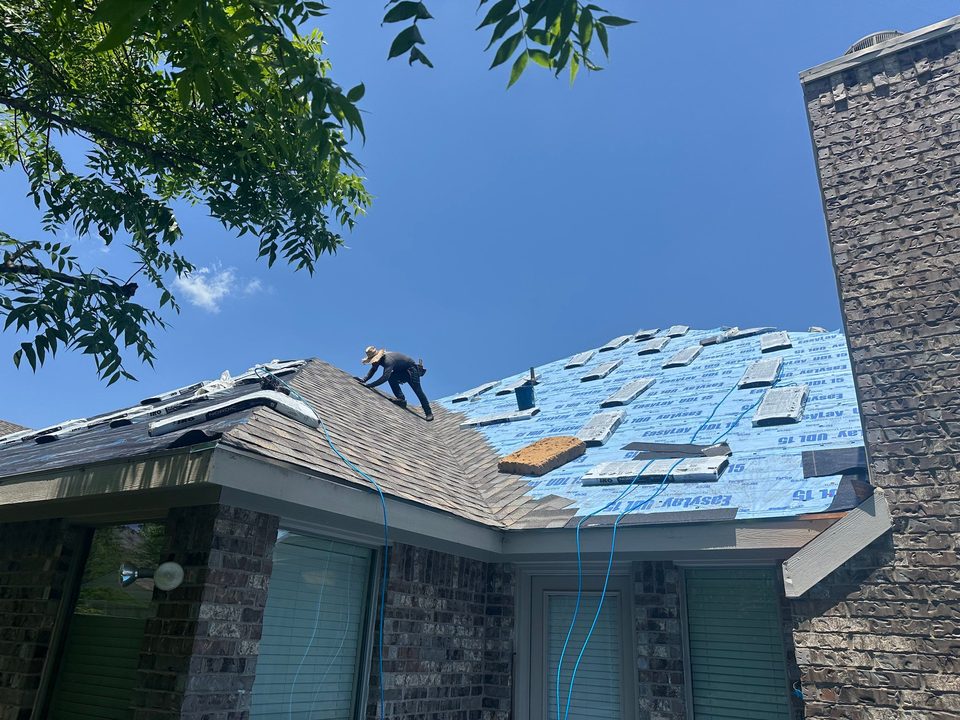
Down to the decking.
Home Roof Replacement Built to Last
Every roof we replace starts with us tearing off the old material, inspecting the wood, and replacing any rot.
The Assembly Under the Shingles
Your Roof Is More Than the Shingles
Two replacement proposals can list the same shingle and still describe two different roofs. The difference is in the layers you never see. We put our specs in writing to show you the difference.

The Layer Walk
How is Your Roof Assembled?
Here is the full assembly for a typical residential roof system, with the shortcut version beside each layer so you can see what skipping it costs. Every part is purpose-made for its spot, nothing retrofitted.
Decking
The wooden base everything above it is nailed to.
How We Build It
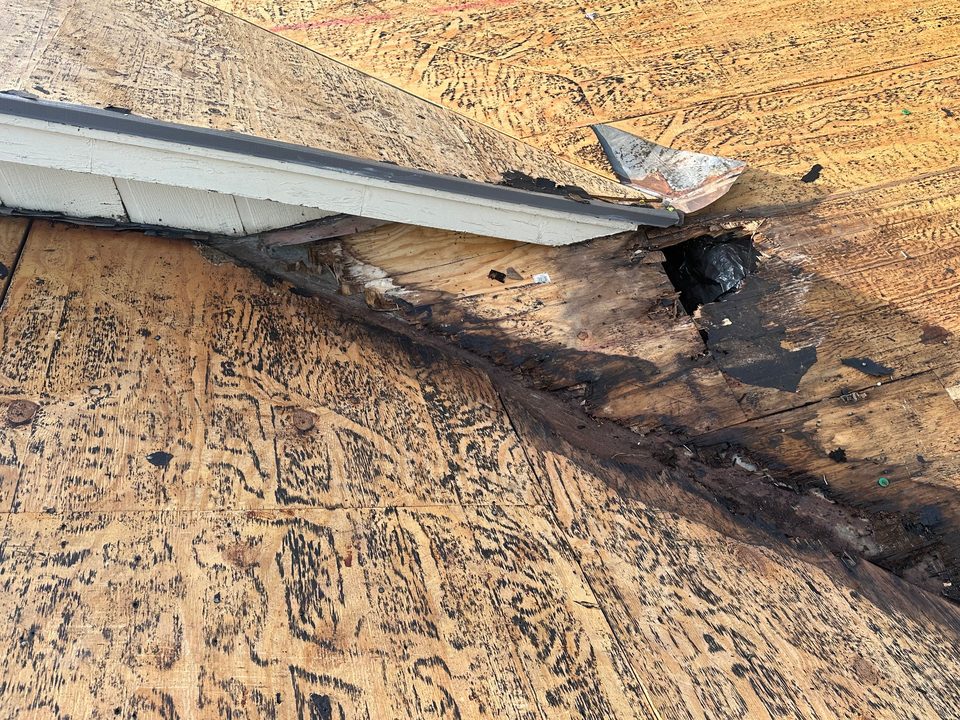
Full tear-off, down to bare wood. We walk the exposed deck looking for rot, and every soft section gets new wood before the first new layer is installed.
The Shortcut
New shingles go over soft spots the old felt was hiding, and the decay keeps spreading under a roof that looks new.
Synthetic underlayment
The protective layer that goes on the bare wood before shingles.
How We Build It
A synthetic sheet that lays flat and stays tough through the heat of a Texas install.
The Shortcut
Paper felt, the older product. It wrinkles as it ages and tears easily in wind, leaving the deck depending on the shingles alone.
Ice and water shield
A self-adhering membrane that keeps its seal around nail punctures.
How We Build It
Run down the valleys, where the roof channels the most water, and around every penetration: pipe vents, the chimney, and the wall-to-roof flashing.
The Shortcut
Installed only where code forces it, or skipped outright. The exact spots water aims for are left with one less line of defense.
True starter strip
The row installed along the edge before any shingle goes on.
How We Build It
A starter strip manufactured for the edge, with its adhesive placed to lock the first row of shingles down against wind.
The Shortcut
A 3-tab shingle flipped upside down. The adhesive lands in the wrong position, so the edge, the first place wind grabs, is held on by less than it should be.
Ridge cap
The shingles that close off the peak of the roof.
How We Build It
A high-profile cap rated to match the field shingles, so a roof built for 120 mph wind is capped with material built for the same.
The Shortcut
A 60 mph 3-tab bent over the peak. The most exposed line on the roof gets the weakest material, and when it cracks, water comes in at the top.
Cricket
A wedge behind the chimney that turns water aside.
How We Build It
Where the chimney is missing one, we recommend it as added scope, stated before work begins. The cricket divides the flow so water passes the chimney on both sides instead of collecting behind it.
The Shortcut
Left off. Water pools against the back of the chimney after every rain and works at the flashing until it finds a way in.
Where Corners Get Cut
Where Do Other Roofers Cut Corners?
Shortcuts do not show up at the final walkthrough. They show up in year four or five, when a 3-tab cap cracks along the ridge and water follows it in, or when covered rot softens the deck under a roof that still looks new from the street. Building to the full specification puts a purpose-made part at every one of those weak points, and that assembly is what the next hail season has to get past.


Impact-Resistant Shingles
What Are Impact-Resistant Shingles?
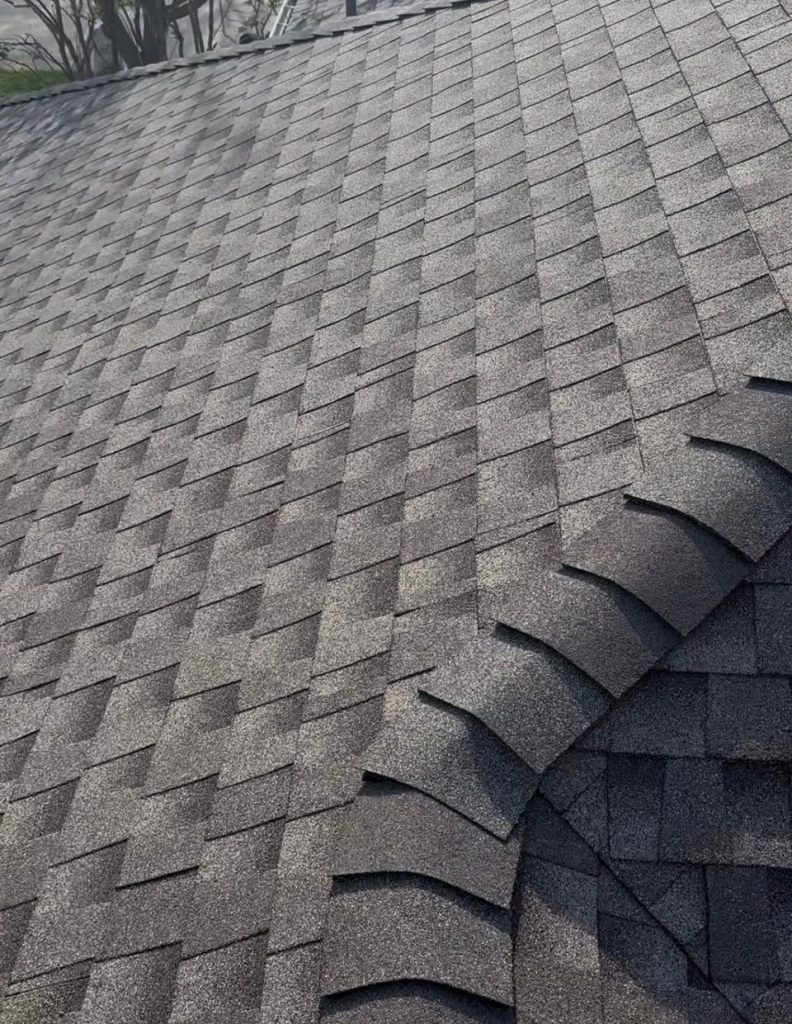
Shingles carry a hail impact rating, Class 1 through Class 4, and Class 4 is the toughest of them. The rating decides how much of a North Texas hailstorm your roof shrugs off before the damage is worth a claim. We price the impact-resistant option on every replacement quote so you can see the difference in writing. Some carriers also discount premiums for impact-resistant shingles, though whether yours does depends on your policy.

The Claim, Carried
We Carry Your Insurance Claim
Storm damage rarely stops at one spot, and the claim decides what gets paid for. We work the file with you from the first call to the last check.
-
Step 1: Whole-Property Inspection
We photograph the roof, gutters, siding, and fencing so nothing the storm touched gets left off the claim.
-
Step 2: Claim Filed Together
We are on the call when you open the claim, ready with the answers carriers ask for.
-
Step 3: We Meet the Adjuster
When your carrier's inspector arrives, we walk the damage with them point by point.
-
Step 4: Paid Through the Last Check
Most claims pay in stages, and we stay on the file until the final payment lands.
Financing by Application
Financing Available by Application
Financing for a replacement is available by application, and every figure in the paperwork gets explained before you sign anything.